
Overview
Charity Bridge Fund uses Bill.com to manage fund distributions securely, trackably, and compliantly. This ensures that funds are delivered to verified organizations, transactions are properly recorded, and distributions are processed efficiently once they become available.
By relying on a standardized system, we’re also able to reduce manual errors and minimize delays, while keeping costs low and maintaining the functionality needed to support reliable payouts.
To receive funds through Charity Bridge Fund, nonprofits must provide a valid Bill.com Payment Network ID (PNI) in the Distribution section of their charity profile.
Where This Fits in Your Setup
As you complete your charity profile, you will come across the Distribution section, where your PNI can be added. This step is designed to ensure your organization is ready to receive funds when the time comes, rather than to control visibility on the platform.
You can still complete your setup, publish your charity, and launch projects without adding a PNI. However, if it is missing when funds become available, distributions cannot be processed and may be delayed until a valid PNI is provided.
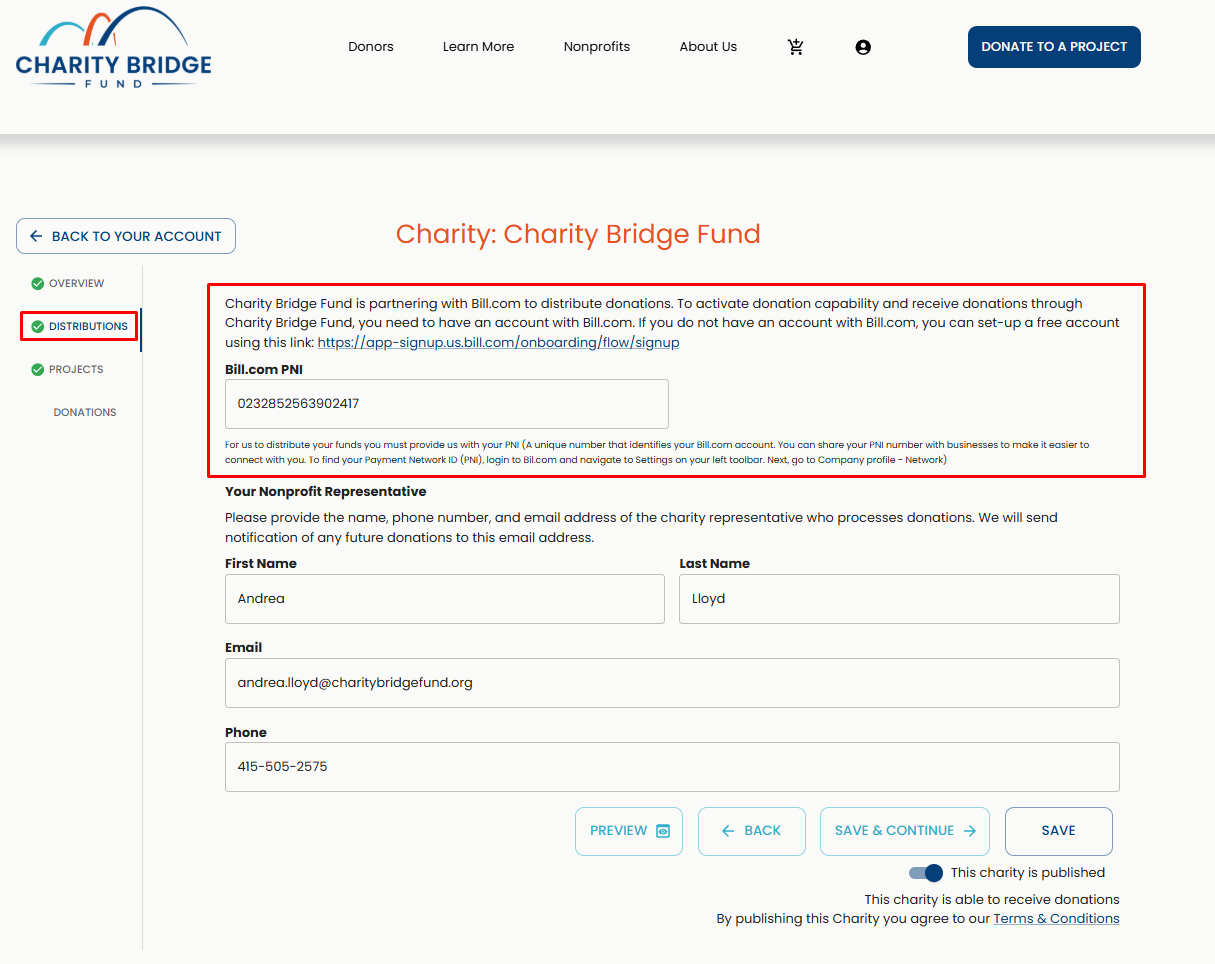
You can publish and get donations without a PNI, but distributions cannot be processed until it is added
Getting Your Bill.com PNI
Setting up a Bill.com account is free for nonprofits and only takes a few steps. Once your account is active, you’ll be able to retrieve your Payment Network ID. Use this link for quick access: Bill.com's Onboarding Flow
Adding Your PNI to Your Charity Profile
Once you have your PNI, return to your Charity Bridge Fund dashboard and enter it in the Distribution section of your charity profile.
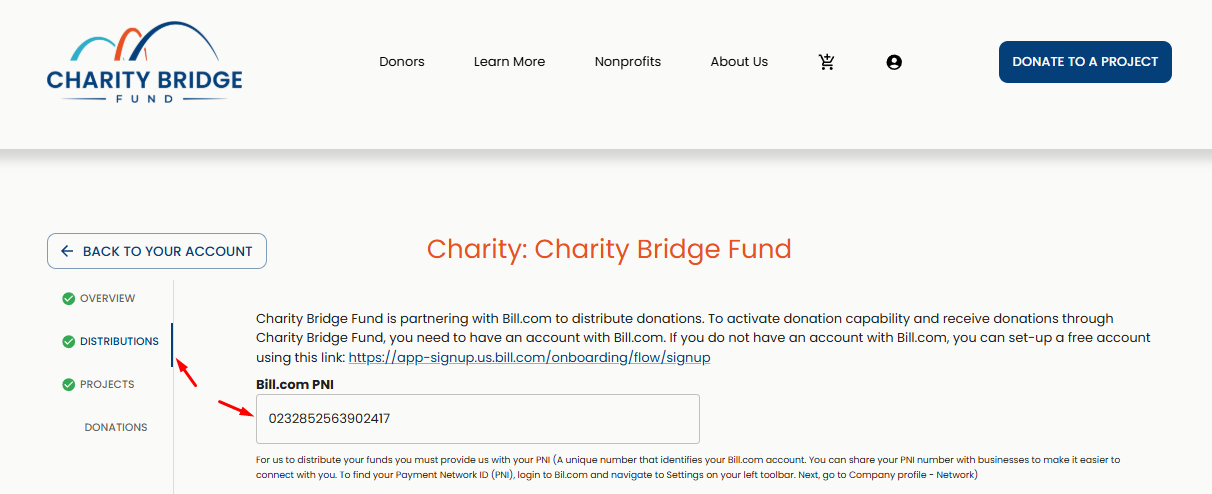
After saving, your organization will be ready to receive distributions as soon as funds become available, without any additional steps required.
Fiscally Sponsored Organizations
If your organization operates under a fiscal sponsor, the PNI entered in the Distribution section must belong to the sponsoring organization, not the sponsored project.
In this case, funds are distributed to the sponsor’s Bill.com account, and the sponsor then allocates those funds to your organization through their existing processes. It’s important to confirm the correct PNI with your sponsor before adding it to your profile.
The PNI determines where funds are sent. Make sure it belongs to the correct organization (Sponsor).
FAQ
Why do I need a Bill.com account?
Bill.com is used to securely distribute funds to your organization once donations are available.
Can I publish my charity without a PNI?
Yes, you can publish your profile and projects without it, but you won’t be able to receive distributions until it’s added.
Where do I enter my PNI?
In the Distribution section of your charity profile within your dashboard.
Can I use an existing Bill.com account?
Yes, as long as you provide the correct PNI.
What happens if my PNI is missing when funds are ready?
Your distribution may be delayed until a valid PNI is provided.
Adding your Bill.com PNI ensures your organization is ready to receive funds without delays. While you can complete your setup and publish without it, having this information in place ahead of time keeps your distribution process smooth once donations become available.