
Introduction
Projects are one of the most important parts of your charity setup on Charity Bridge Fund. They help explain what your organization is working on, why support is needed, and how donor contributions can make an impact. Each project gives donors a clearer picture of a specific initiative, funding need, or community goal.
Be prepared to explain how defunding has affected your project.
How to Add a Project
Step 1: Find the Projects Section
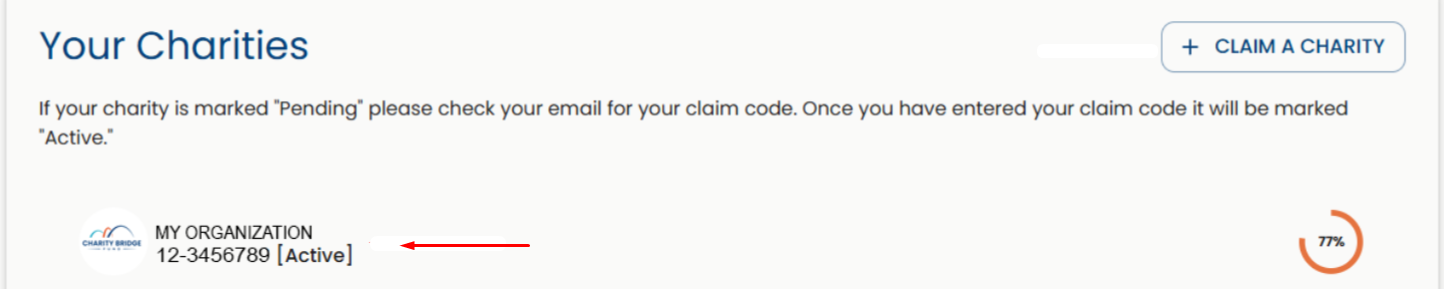
From My Account, scroll down to "Your Charities", access the charity you represent, and select Projects from the left-hand menu.

Step 2: Click Add Project
On the Projects page, click Add Project in the upper-right area.

Then:
Enter your project name.
Provide a defunding explanation.
In the defunding explanation field, describe:
The project or program affected.
The funding amount involved.
Whether the funding was modified, terminated, reduced, or withdrawn.
How the change affects your organization, services, or community.
Step 3: Complete the Project Details
Once your project is created, you’ll be taken to the project page, where you’ll find the different sections that make up your project. From here, continue completing the required fields.
Add your:
Overview
Budget
Contact Information
Images.
Categories.
These sections help clearly communicate your project’s purpose, funding needs, and impact, while improving how it is presented to donors on the platform.
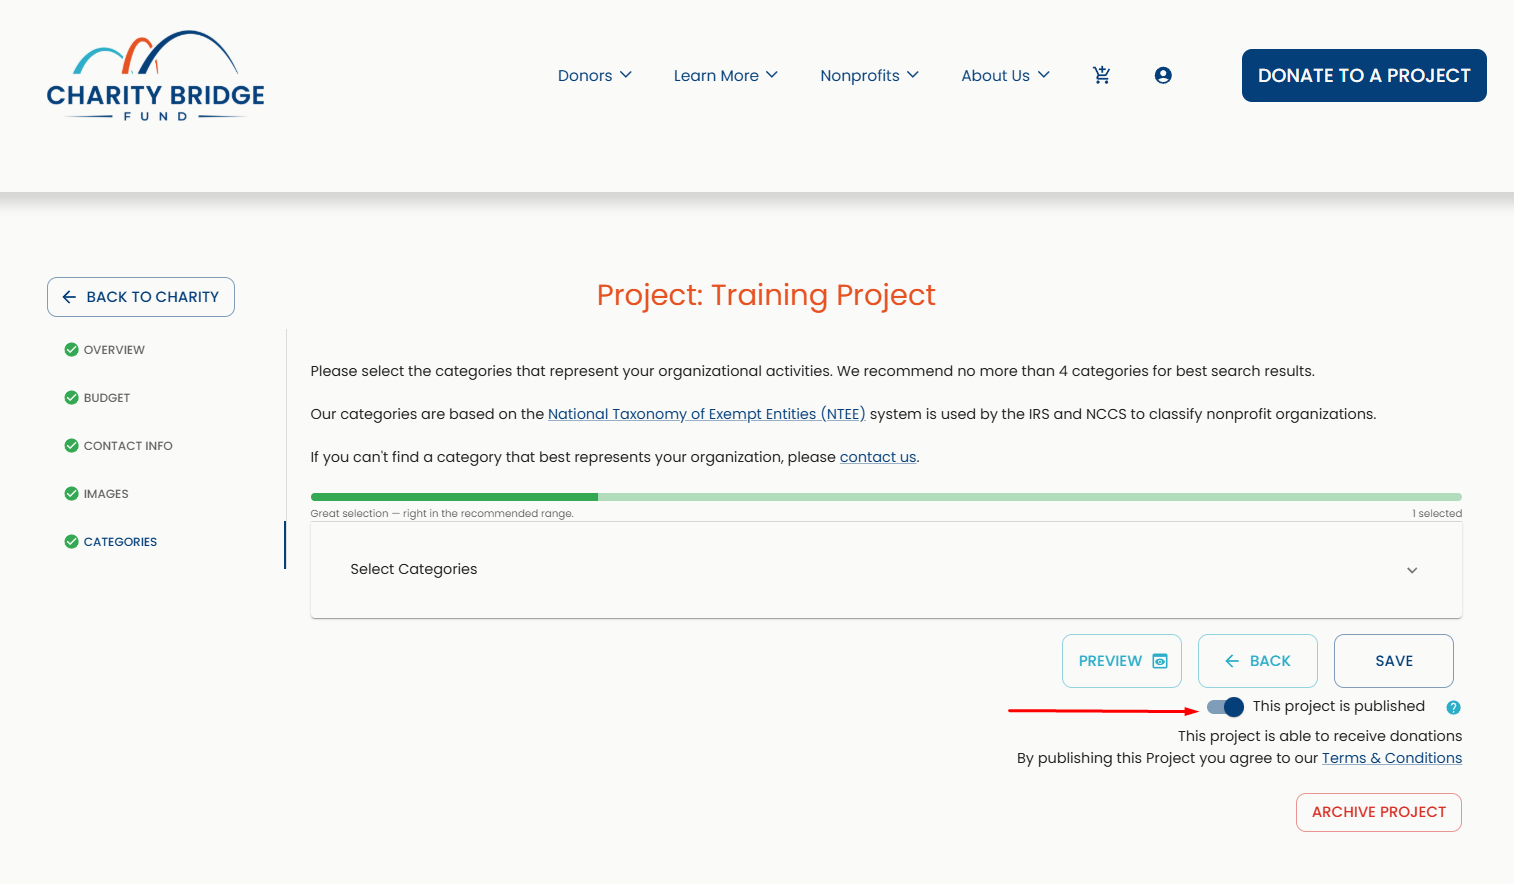
Step 4: Review and Publish
Review the information you entered and toggle the Publish switch on to make the project go live on the platform and become available for donations.
You can return to your project and continue refining it at any time, even after it was published.
How Publishing Works
Publishing a project is a required step to activate its full functionality, including receiving donations.
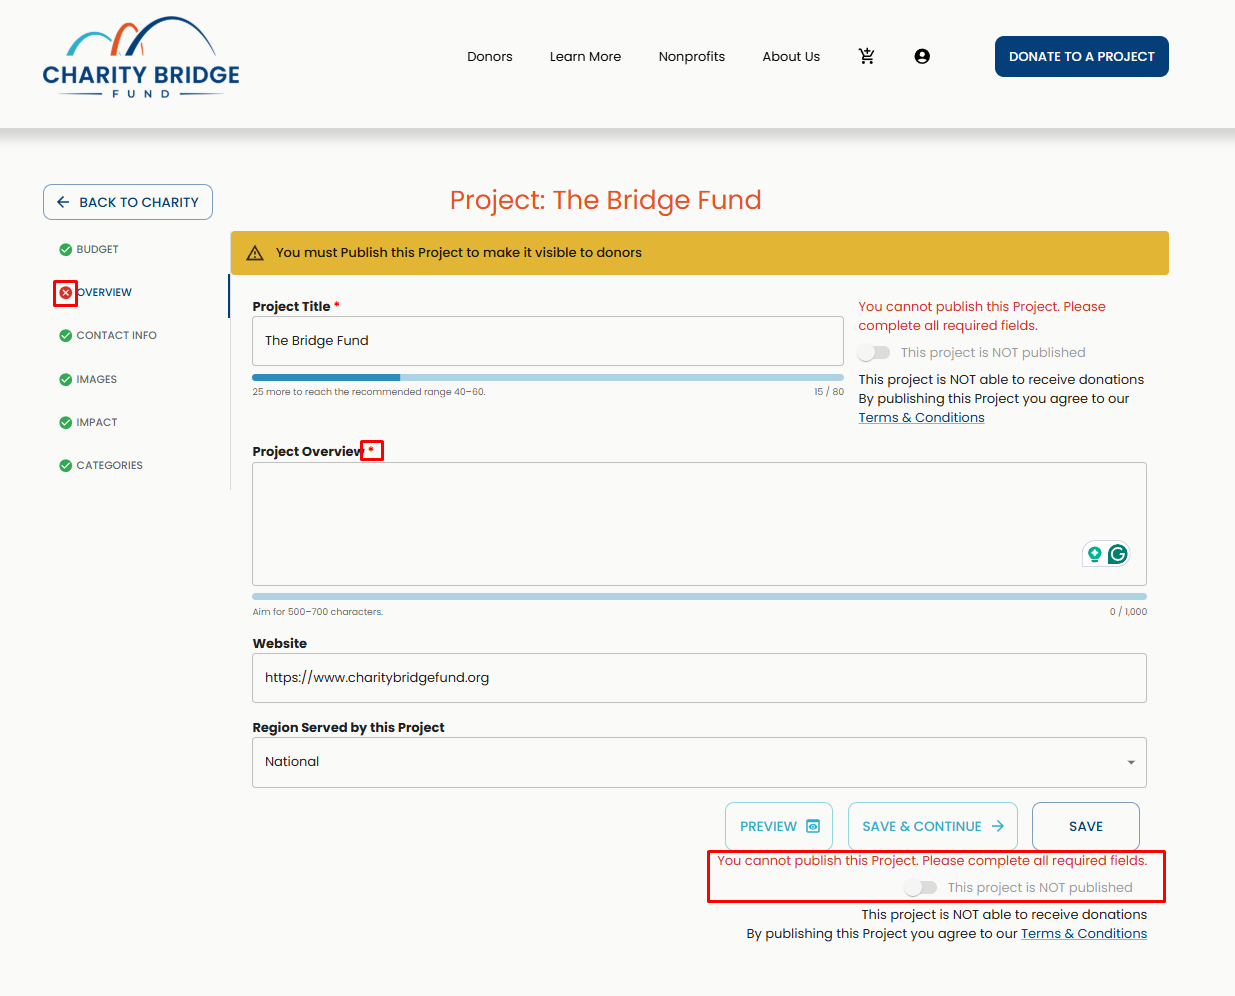
The Publish option will only become available once all required fields are completed. You will see:
A red check indicator on sections with missing information.
A red asterisk (*) next to required fields.
An error message explaining why the project cannot be published.
Until these fields are completed, your project can still be saved, but it cannot be published. To learn more, visit the following article:
Charity vs Project Publishing
Publishing your charity profile and publishing a project are two separate actions.
Charity Publish
Makes your organization visible on the platform and searchable by donors
Project Publish
Enables a specific project to be active, visible to donors, and able to receive donations
Your profile is structured in two parts:
The Charity Profile (your organization).
The Projects (your funding needs and initiatives).
This means:
You can have a published charity that appears in search results.
But your project will not accept donations until it is also published.
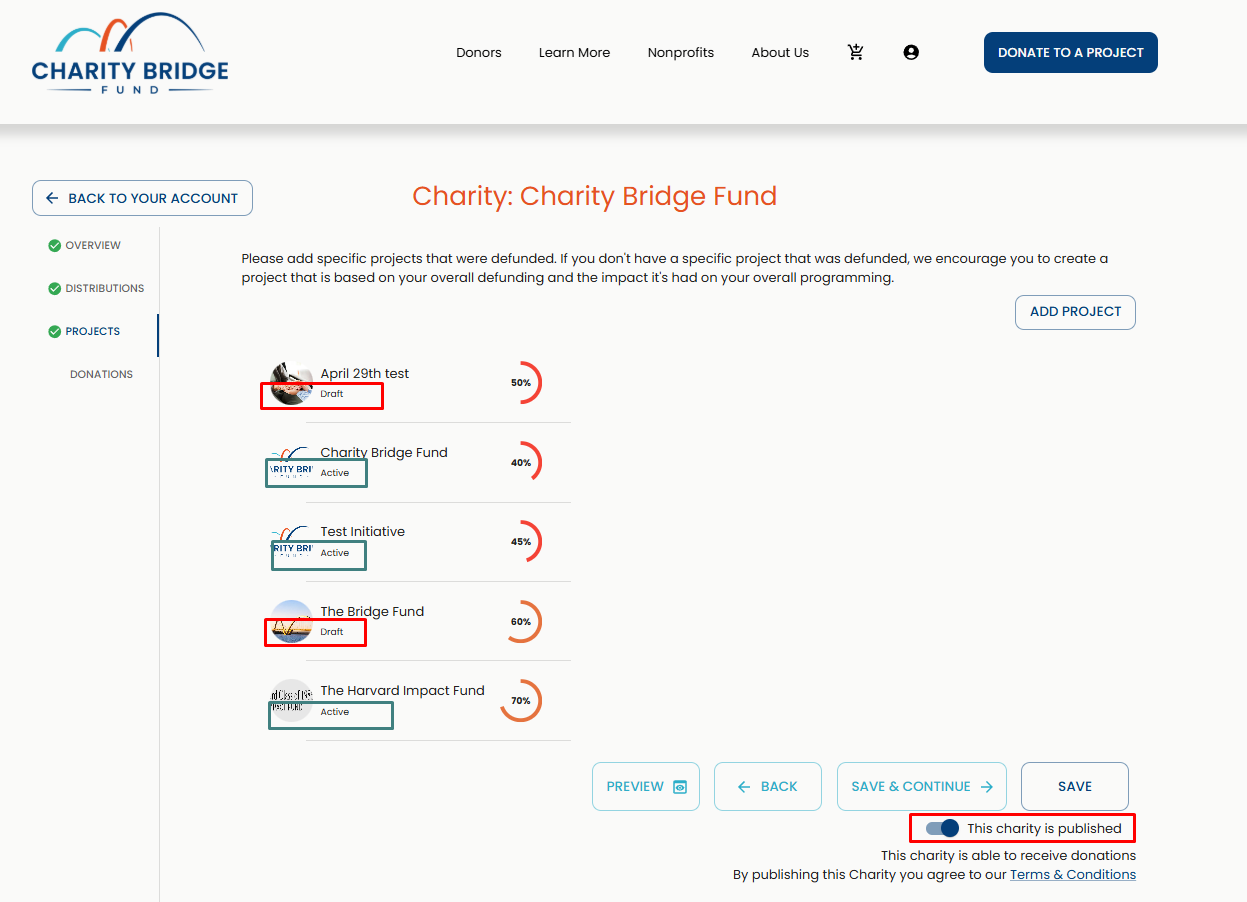
In the example below, Charity Bridge Fund's organization profile is made public, but not all projects are. To make them go live, you would need to go into the ones labeled as drafts, complete the details, and click the "Publish" button inside the project.
While your charity introduces your organization, published projects are what donors actually support.
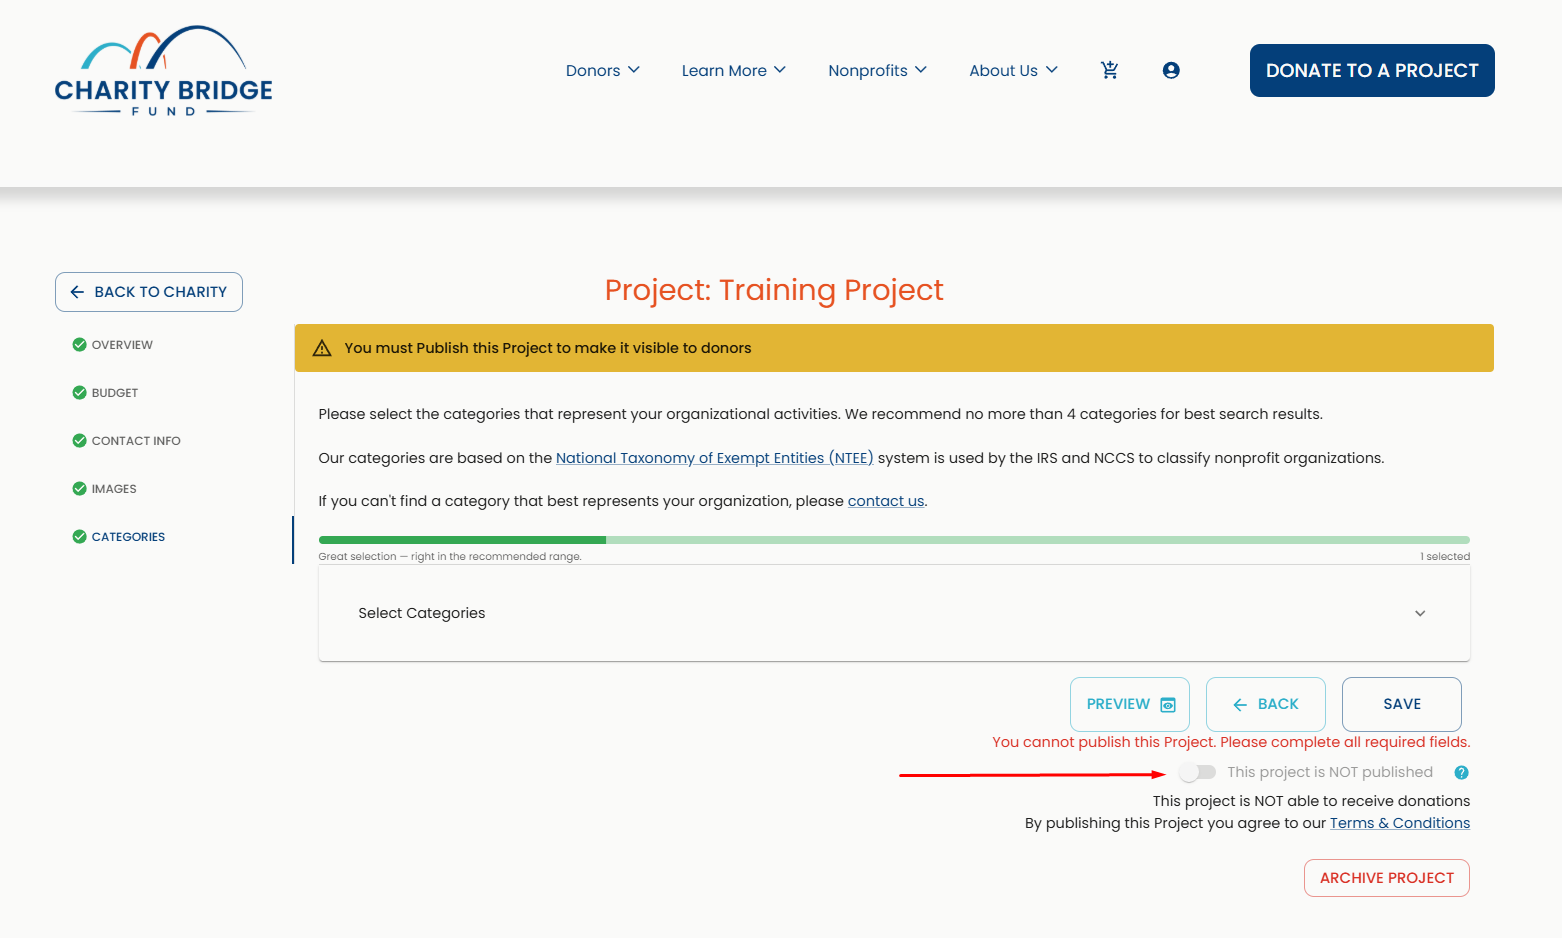
Where to Find the Project Publish Button
You can find the Publish button on the project page at the bottom right, below the Save buttons.
Tips for a Stronger Project Profile
Once your project is set up, the next step is making it as clear and compelling as possible for donors.
Here are a few key things to keep in mind:
Complete all required fields before publishing
Use authentic photos that showcase your program, the people served, or real outcomes, while avoiding generic stock images, logos, or heavy text overlays.
Clearly explain your funding need and community impact
Keep your content within the recommended character range (green indicators).
Refine the content over time. You can continue updating your project as details evolve, funding changes, or you want to strengthen how your story is presented.
For detailed guidance, templates, and section-by-section best practices, refer to:
What Happens Next
Once your project is published, it becomes live and discoverable by donors.
Use your dashboard to review donations and manage project updates.
You can edit or update your project at any time, or go back and create more projects under your active charity.
FAQ
How do I add a project on Charity Bridge Fund?
Go to the charity you represent, open the Projects section, click Add Project, enter the project name, provide a defunding explanation, and complete the project details.
What documents do I need to add a project?
You do not need to upload a defund letter or funding document. Instead, provide a clear defunding explanation that describes the funding change and how it affected the project.
Can I add a project without a defund letter?
Yes. A defund letter is not required. Use the defunding explanation field to describe the funding impact clearly.
Why can’t I publish my project yet?
The Publish button becomes available only after all required fields are complete. Look for red check indicators, red asterisks, or error messages showing what still needs attention.
Can I edit my project after publishing it?
Yes. You can update your project at any time after it goes live.
What happens after my project is published?
Your project becomes visible to donors, allowing them to discover and support it while you track performance from your dashboard.
Adding a project is how your nonprofit turns a funding need into a clear, visible opportunity for support. A complete and well-structured project helps donors understand your work, the impact of lost funding, and why timely support matters.